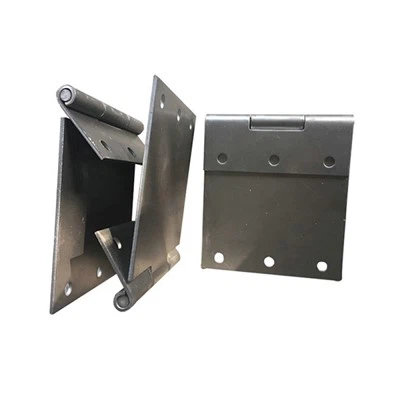
Ensuring the proper alignment of SS304 continuous hinges during installation is crucial for ensuring their smooth functioning, durability, and the overall aesthetic appeal of the application. As a proud supplier of SS304 continuous hinges, I understand the challenges installers face and the importance of getting it right. In this blog post, I'll share some insights and practical tips on how to achieve optimal alignment for your SS304 continuous hinges.

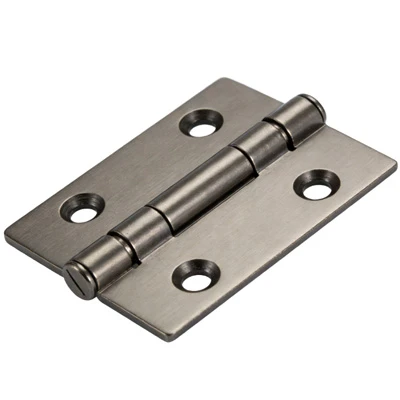
Understanding SS304 Continuous Hinges
Before diving into the alignment process, it's essential to understand the characteristics of SS304 continuous hinges. SS304, also known as 18/8 stainless steel, is a popular choice due to its excellent corrosion resistance, high strength, and aesthetic appeal. Continuous hinges, also called piano hinges, are long, narrow hinges that run the entire length of the joint, providing uniform support and stability.
Pre-Installation Preparation
- Inspect the Hinge: Before installation, carefully inspect the SS304 continuous hinge for any damage, such as scratches, dents, or misaligned pins. Ensure that the hinge is the correct length and width for your application.
- Measure and Mark: Use a measuring tape and a pencil to mark the exact location where the hinge will be installed. Make sure the marks are straight and level, and double-check the measurements to ensure accuracy.
- Prepare the Surface: The surface where the hinge will be installed should be clean, dry, and free of any debris or contaminants. If necessary, use a degreaser or sandpaper to prepare the surface.
Alignment Techniques
- Use a Straight Edge: A straight edge is an essential tool for ensuring the proper alignment of the hinge. Place the straight edge along the marked line and use it as a guide to position the hinge. Make sure the hinge is flush against the straight edge and that the holes in the hinge align with the pre-drilled holes in the surface.
- Check for Level: Use a level to ensure that the hinge is perfectly horizontal or vertical, depending on the application. Adjust the position of the hinge as needed to achieve a level installation.
- Align the Pins: If the hinge has pins, make sure they are properly aligned before inserting them into the hinge barrels. Misaligned pins can cause the hinge to bind or not function properly.
- Use a Template: For more complex installations or when precise alignment is required, consider using a template. A template can help you mark the exact location of the hinge holes and ensure that they are evenly spaced.
Installation Process
- Drill Pilot Holes: Once the hinge is properly aligned, use a drill bit that is slightly smaller than the diameter of the screws to drill pilot holes in the surface. This will help prevent the wood or other material from splitting when the screws are inserted.
- Insert the Screws: Insert the screws into the pilot holes and tighten them using a screwdriver or a drill. Make sure the screws are tightened evenly to prevent the hinge from warping or becoming misaligned.
- Test the Hinge: After the hinge is installed, test it to make sure it opens and closes smoothly. If the hinge binds or does not function properly, check the alignment and tighten the screws as needed.
Common Alignment Issues and Solutions
- Uneven Gaps: If the gaps between the hinge leaves are uneven, it may be due to improper alignment or loose screws. Check the alignment of the hinge and tighten the screws to ensure a uniform gap.
- Binding Hinge: A binding hinge can be caused by misaligned pins, a warped hinge, or debris in the hinge barrels. Check the alignment of the pins and clean the hinge barrels to remove any debris.
- Loose Hinge: A loose hinge can be caused by loose screws or a poorly drilled pilot hole. Tighten the screws or re-drill the pilot holes to ensure a secure installation.
Additional Tips for Optimal Alignment
- Work in a Clean Environment: A clean work environment can help prevent debris and contaminants from getting into the hinge barrels, which can cause binding or other alignment issues.
- Use the Right Tools: Using the right tools, such as a drill, screwdriver, and level, can make the installation process easier and more accurate.
- Follow the Manufacturer's Instructions: Always follow the manufacturer's instructions for installing the SS304 continuous hinge. This will ensure that the hinge is installed correctly and that it functions properly.
Related Products
If you're interested in exploring other types of hinges, we also offer a wide range of Gun Metal Hinges, Stainless Steel Hook And Band Hinges, and Stainless Steel Spring Loaded Hinges. These hinges are made from high-quality materials and are designed to provide reliable performance and long-lasting durability.
Contact for Purchase and Consultation
Ensuring the proper alignment of SS304 continuous hinges is not only about following the right steps but also about having access to high - quality products. If you are in the market for SS304 continuous hinges or need advice on their installation, don't hesitate to contact us. We are here to help you make the best choices for your project, ensuring that your hinges are installed correctly and function flawlessly for years to come.
References
- "Stainless Steel Handbook" - A comprehensive guide on the properties and applications of stainless steel.
- Manufacturer's installation guides for SS304 continuous hinges.